粒子特效是为模拟现实中的水、火、雾、气等效果,其原理是将无数的单个“点”(粒子)组合使其呈现出固定形态,借由控制器、脚本来控制其整体或单个的运动,模拟出现真实的效果。
一、Points与点材质
ThreeJS中使用Points类来显示点,它的构造函数接收两个参数:
- geometry:BufferGeometry的实例。
- material:点材质PointsMaterial。
- 点材质的主要属性:
- color:材质颜色。
- size:点的大小,默认为1.0。
- map:贴图。
- alphaMap:透明度贴图。控制不透明度(黑色:完全透明;白色:完全不透明)。
- fog:是否受雾影响,默认为true。
- sizeAttenuation:指定点的大小是否因相机深度而衰减,默认为true。
// 创建球几何体
const sphereGeometry = new THREE.SphereGeometry(3, 50, 50)

// 设置点材质
const pointMaterial = new THREE.PointsMaterial({
  color: '#ffffff',
  size: 0.05
})

// 通过球几何体创建点
const points = new THREE.Points(sphereGeometry, pointMaterial)

scene.add(points)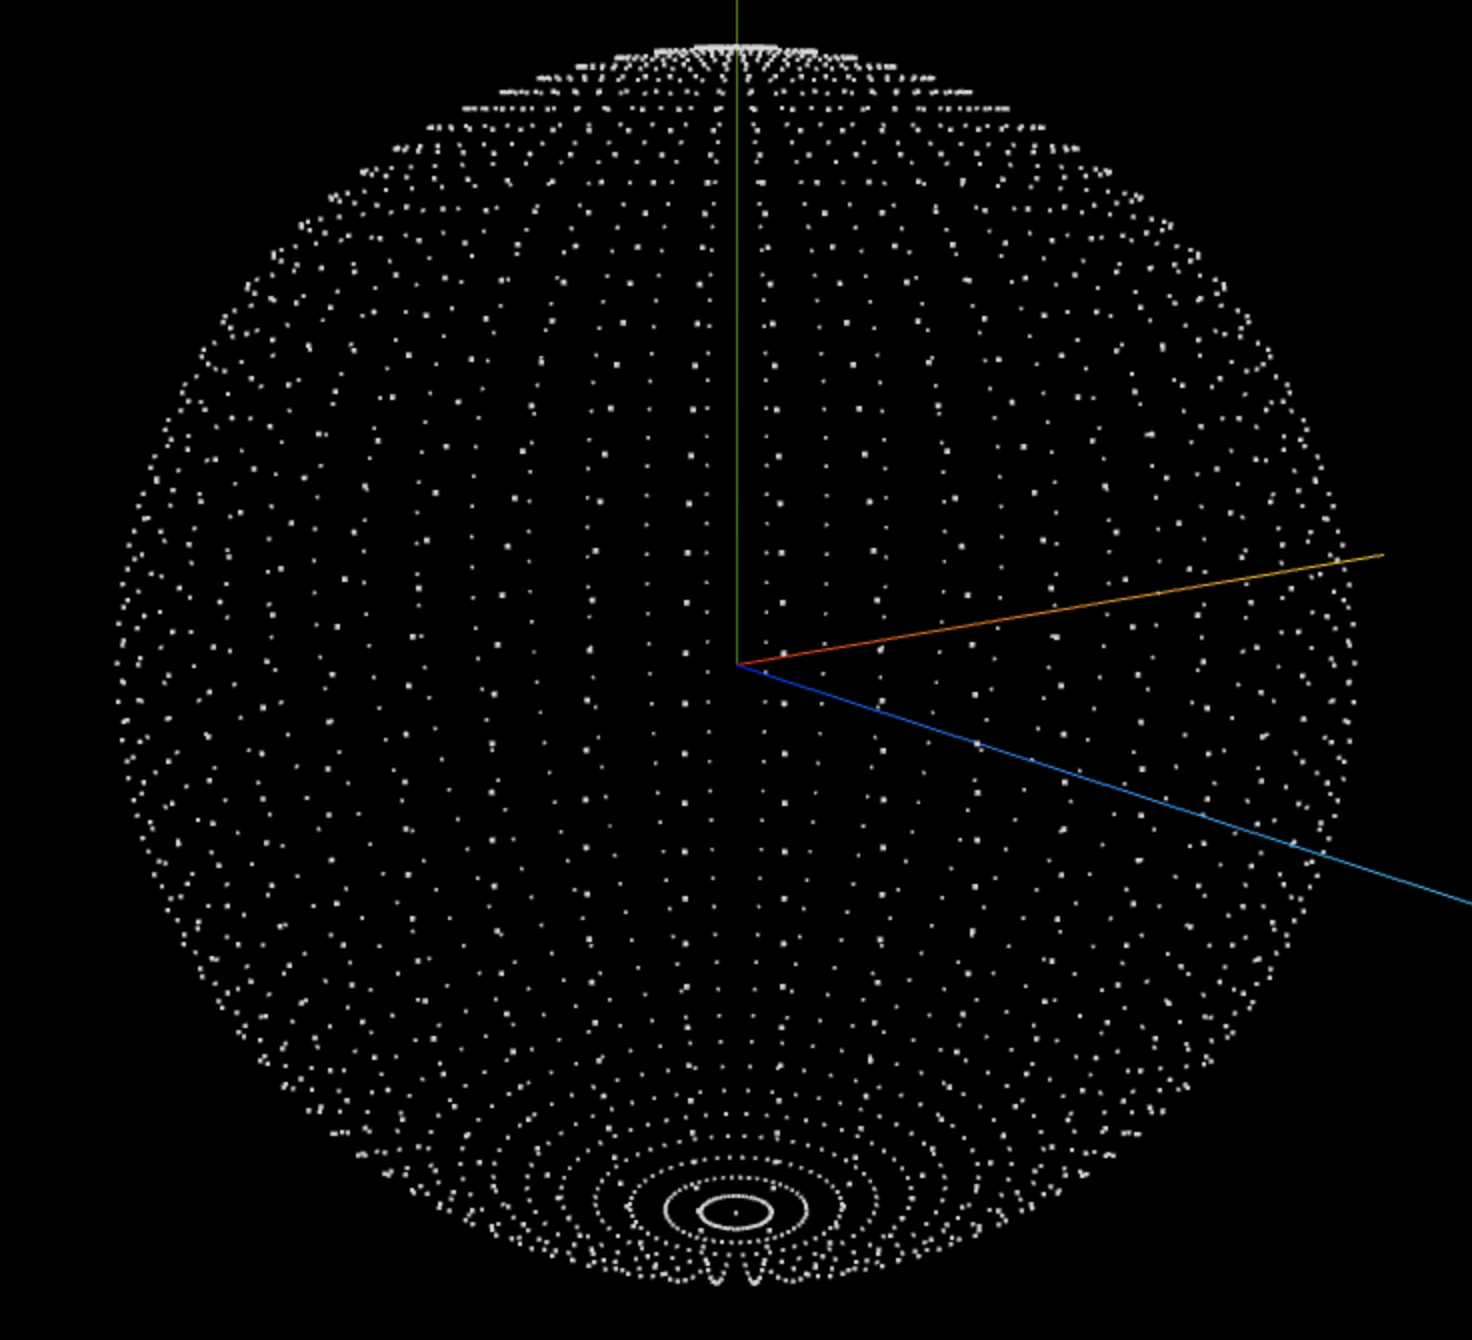
给点材质设置贴图
接着我们给点材质设置一下贴图,这里我使用的threejs版本是0.156,geometry上带有uv属性,这里的uv属性会将贴图作用于整个几何体上(这里是整个球几何体),而不是单独的一个点上,所以这里将uv属性删除,这样每个点都会应用上我们设置的贴图。
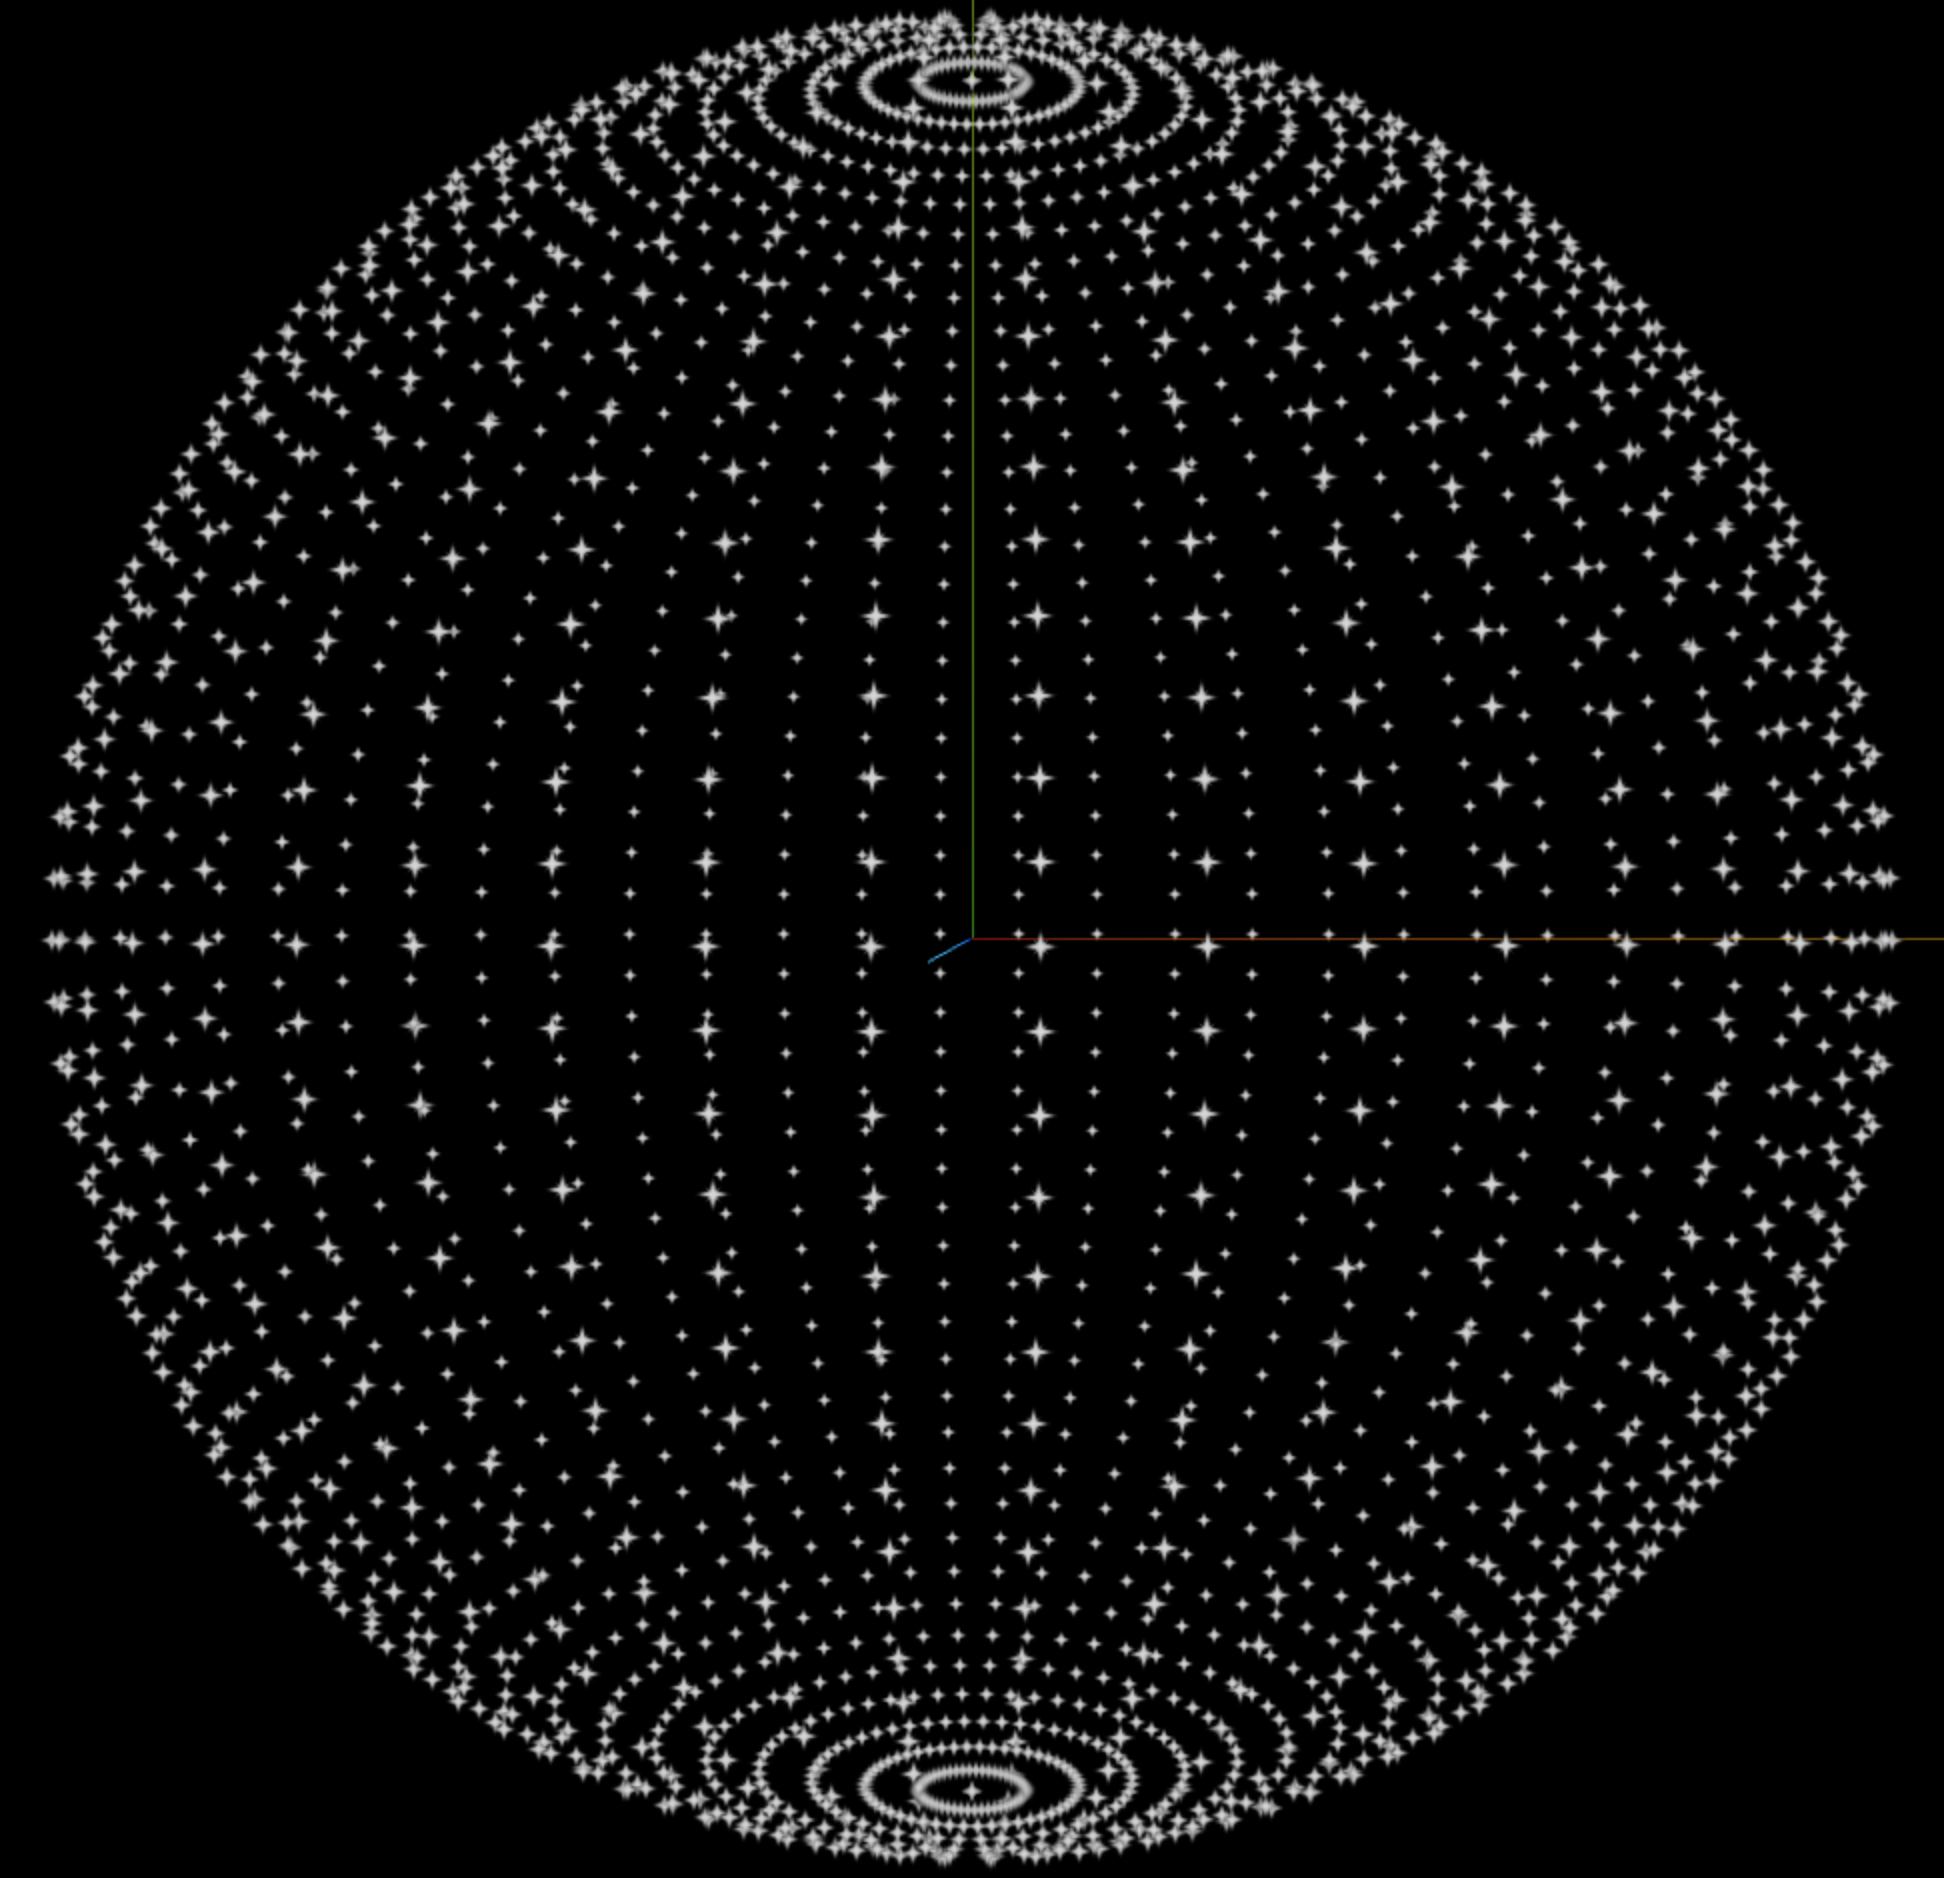
这是我们用到的贴图,同时我们将它作为透明度贴图,这样黑色的部分就是完全透明的。而要让材质支持透明度,还需要设置 transparent: true 。

// 载入纹理
const textureLoader = new THREE.TextureLoader()
const map = textureLoader.load('./texture/particles/1.png')
delete sphereGeometry.attributes.uv // 需要把uv删掉,否则贴图会作用于整个geometry

const pointMaterial = new THREE.PointsMaterial({
  color: '#ffffff',
  size: 0.25,
  map: map,
  alphaMap: map,
  transparent: true,
  depthWrite: false
})
二、使用顶点缓冲区创建点
刚才我们用的是球几何体创建的点,现在我们直接通过BufferGeometry来创建。
ThreeJS中提供了一系列绘制几何体的类,比如BoxGeometry、SphereGeometry,PlaneGeometry、CircleGeometry、CylinderGeometry等等,当这些几何体都不能满足需求的情况下,就需要使用BufferGeometry了,通过它可以向缓存中传输几何体的顶点坐标、面索引、顶点颜色、顶点法向量、顶点UV甚至是自定义属性,使用自定义属性和着色器材质配合使用,非常强大。读取或编辑 BufferGeometry中的数据需要使用BufferAttribute类,这个类用于存储与BufferGeometry相关的各种属性。
我们通过BufferGeometry创建一个包含5000个顶点的几何体,并且让这些点随机分布:
// 顶点个数
const count = 5000
// 设置缓冲区数组
const positions = new Float32Array(count * 3) // 每个顶点由x、y、z三个坐标分量组成
for (let i = 0; i < count * 3; i++) {
  positions[i] = (Math.random() - 0.5) * 30
}

const particleGeometry = new THREE.BufferGeometry()

// 设置缓冲区属性(顶点位置)
particleGeometry.setAttribute(
  'position',
  new THREE.BufferAttribute(positions, 3)
)

const textureLoader = new THREE.TextureLoader()
const map = textureLoader.load('./texture/particles/1.png')

const pointMaterial = new THREE.PointsMaterial({
  color: '#ffffff',
  size: 0.5,
  map: map,
  alphaMap: map,
  transparent: true,
  depthWrite: false
})

const points = new THREE.Points(particleGeometry, pointMaterial)
scene.add(points)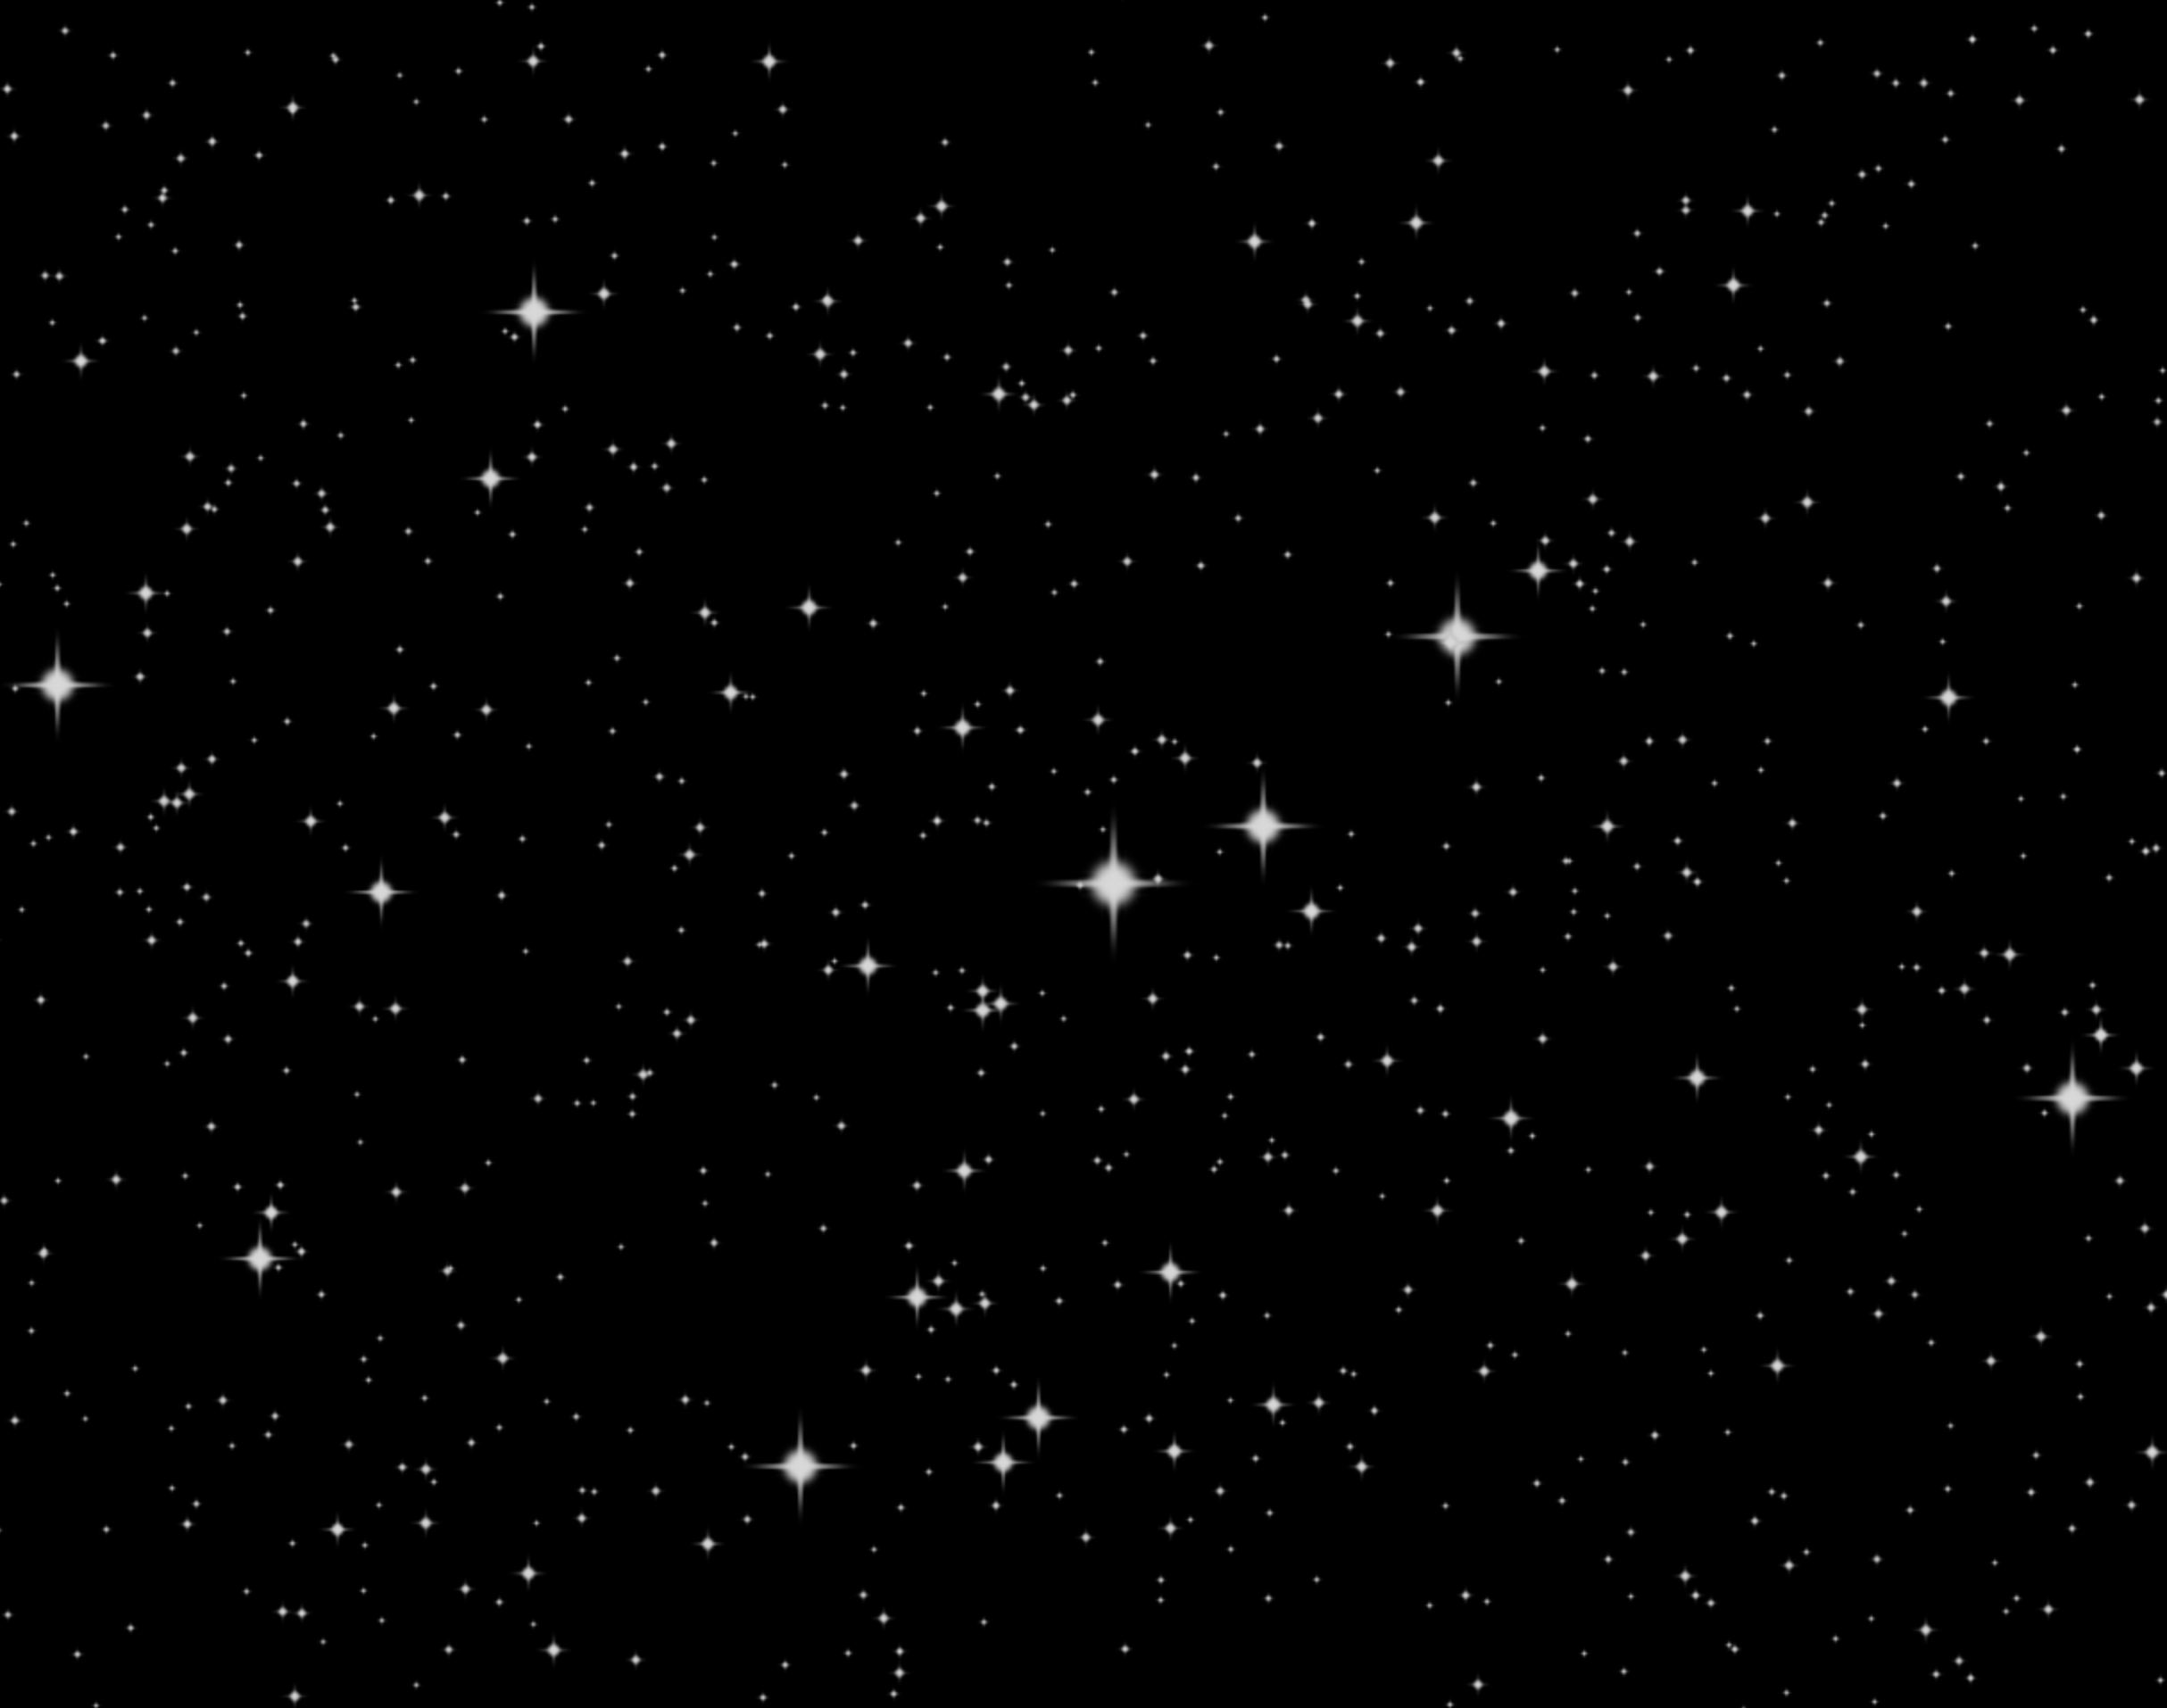
我们还可以为每个点设置不同的颜色:
// 设置顶点颜色
const colors = new Float32Array(count * 3) // 每个颜色有r、g、b三个分量

for (let i = 0; i < count * 3; i++) {
  colors[i] = Math.random()
}

// 设置缓冲区属性(顶点颜色)
particleGeometry.setAttribute(
  'color',
  new THREE.BufferAttribute(colors, 3)
)

pointMaterial.vertexColors = true // 启用顶点着色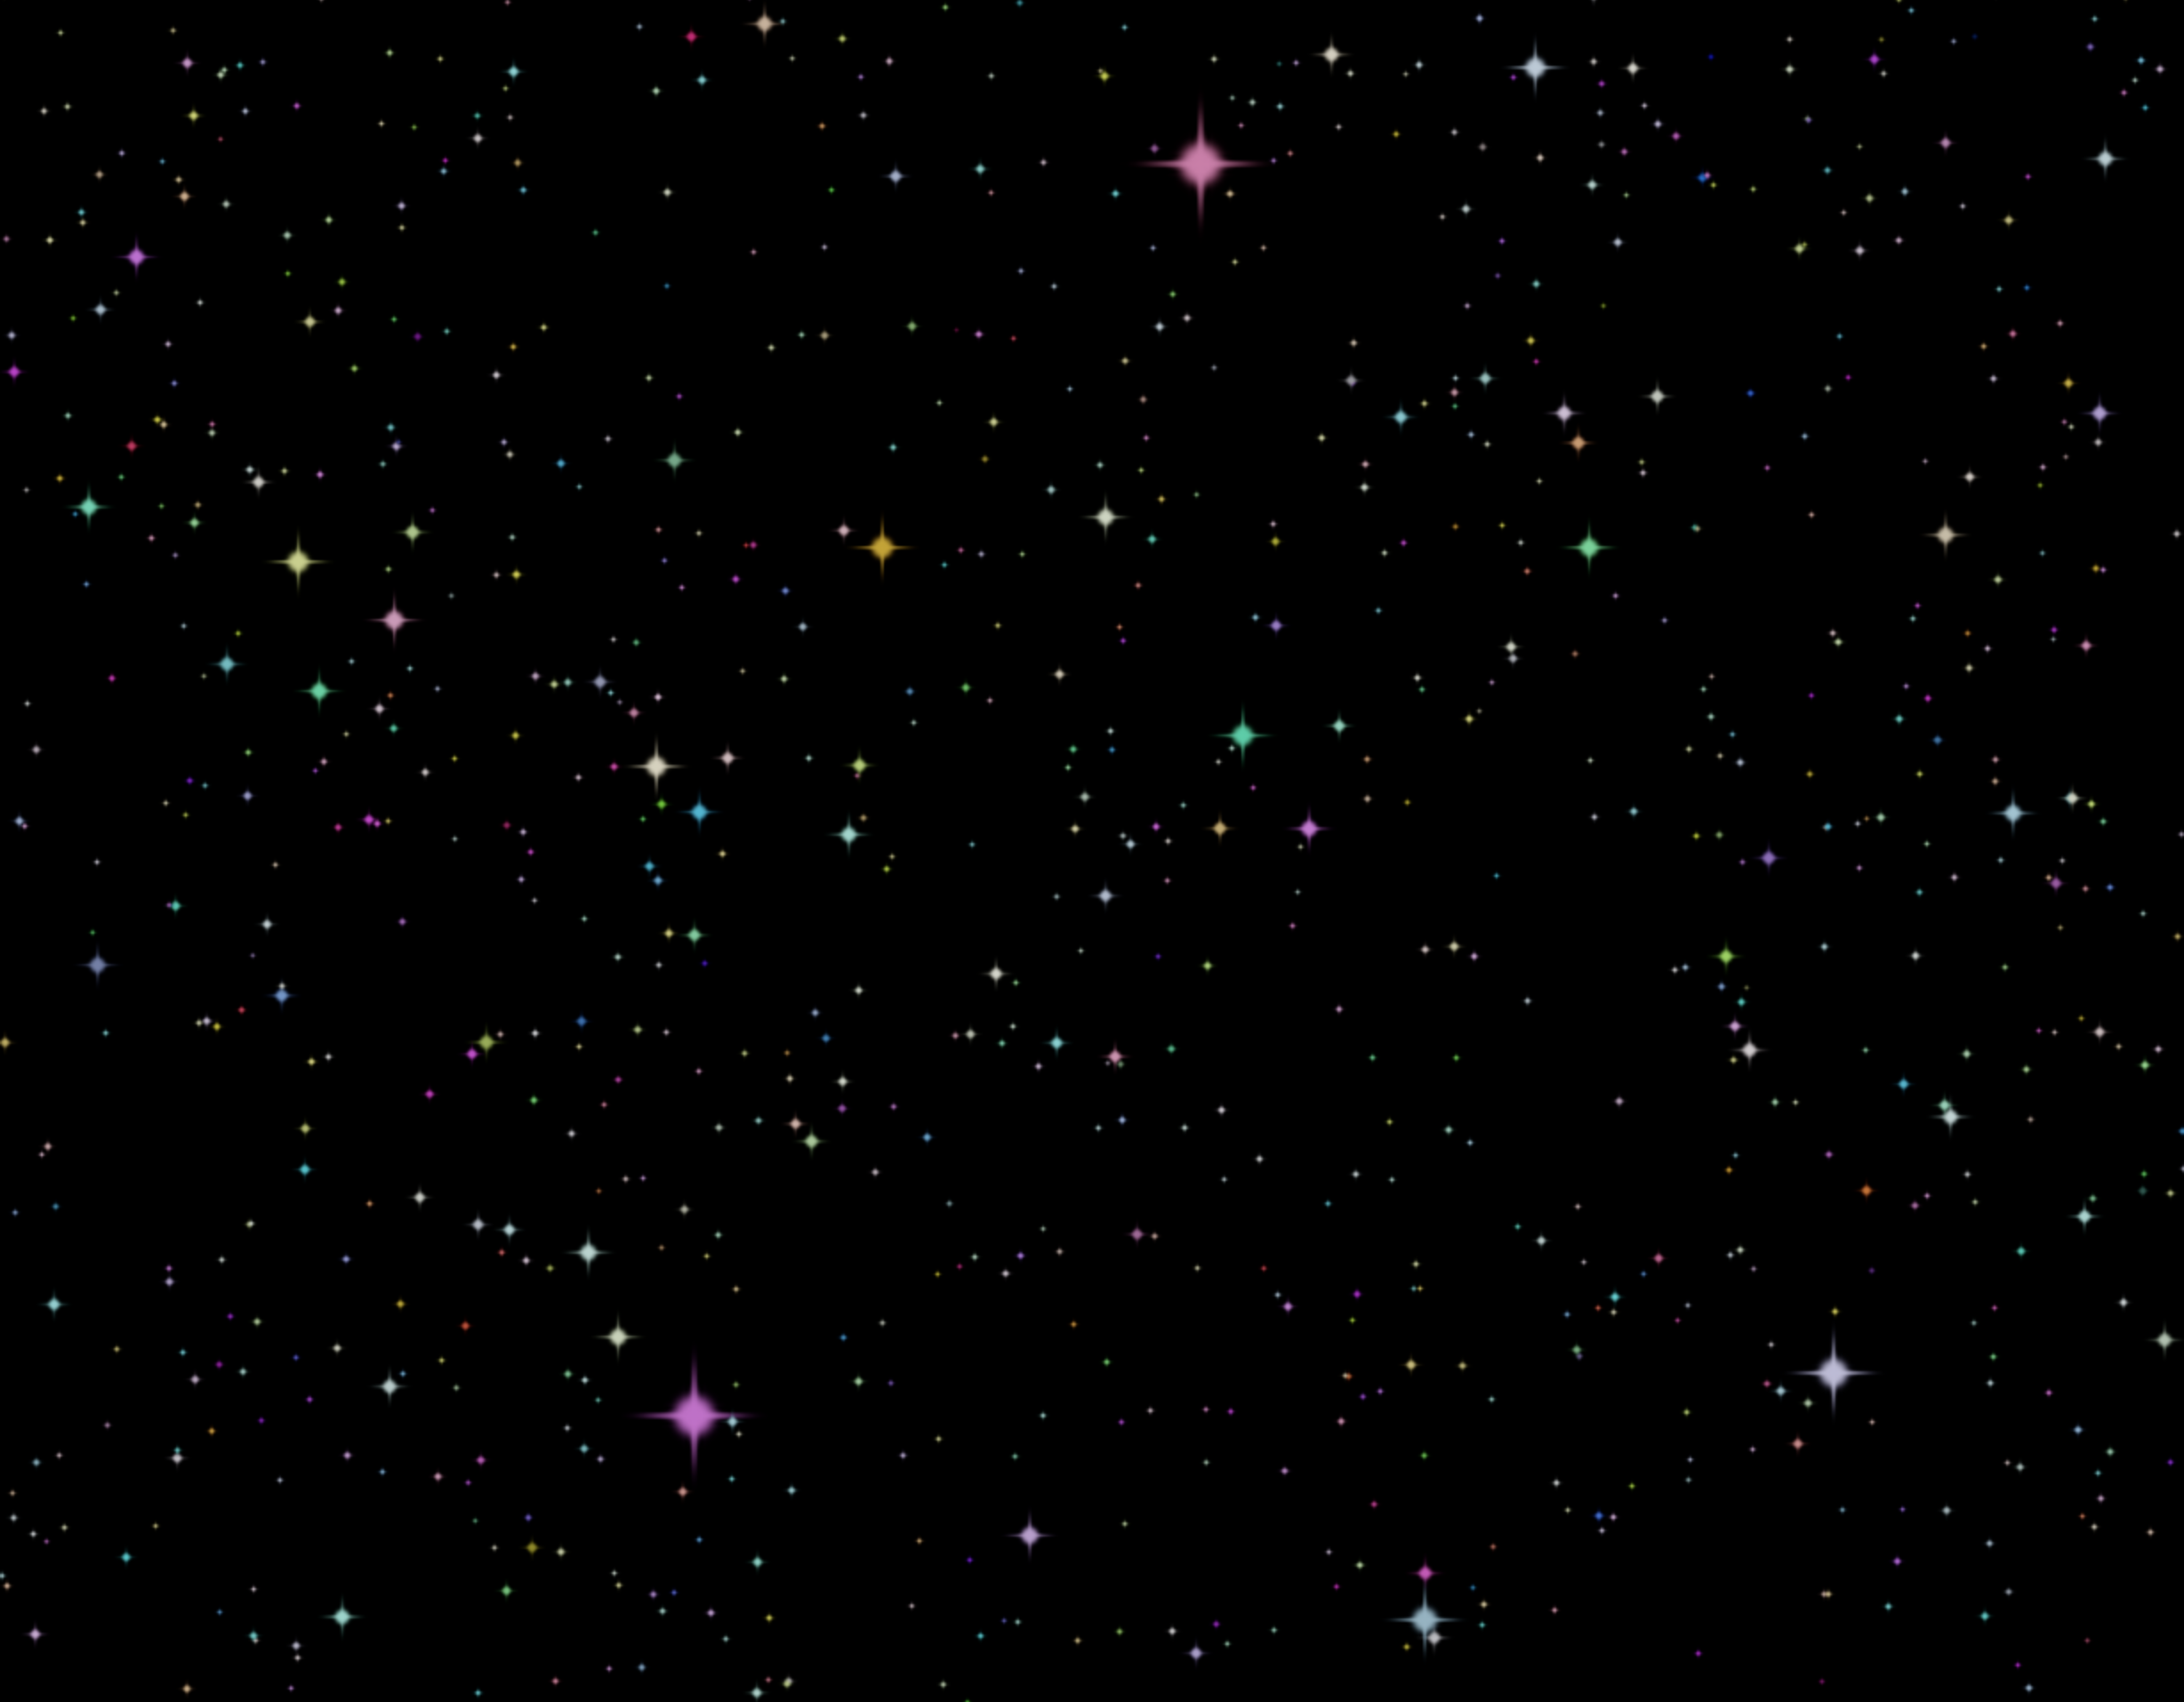
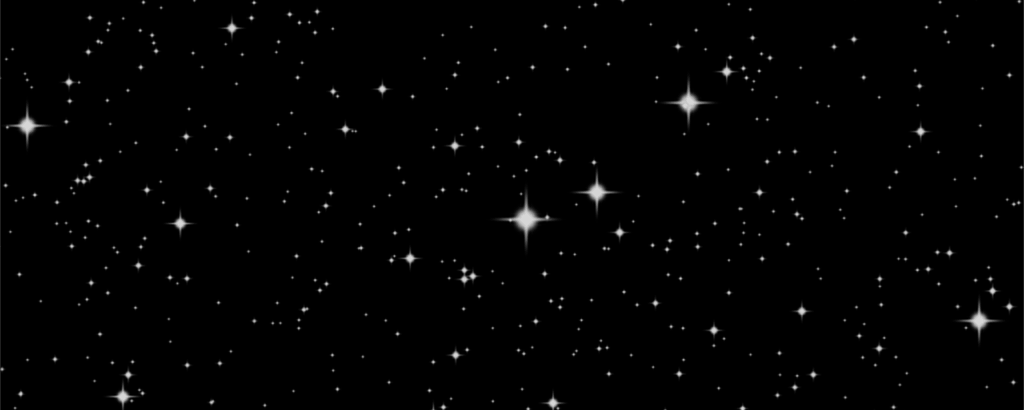
三、雪花飞舞实例
最后看一个综合实例,实现了雪花飞舞的效果。完整代码如下:
import * as THREE from 'three'

// 创建场景
const scene = new THREE.Scene()

// 创建相机
const camera = new THREE.PerspectiveCamera(
  45,
  window.innerWidth / window.innerHeight,
  0.1,
  3
)
camera.position.set(0, 0, 5)

// 创建粒子
function createPoints(count, size, textureUrl) {
  const textureLoader = new THREE.TextureLoader()
  const map = textureLoader.load(textureUrl)

  const particleGeometry = new THREE.BufferGeometry()

  const vertices = new Float32Array(count * 3)

  for (let i = 0; i < count * 3; i++) {
    vertices[i] = Math.random() * 10 - 5
  }
  particleGeometry.setAttribute('position', new THREE.BufferAttribute(vertices, 3))

  const pointMaterial = new THREE.PointsMaterial({
    color: '#ffffff',
    transparent: true,
    map: map,
    alphaMap: map,
    size: size,
    depthWrite: false
  })
  const points = new THREE.Points(particleGeometry, pointMaterial)
  scene.add(points)
}

createPoints(10000, 0.1, './texture/particles/snow_1.png')
createPoints(5000, 0.1, './texture/particles/snow_2.png')

// 创建WebGL渲染器
const renderer = new THREE.WebGLRenderer({
  antialias: true
})
renderer.setSize(window.innerWidth, window.innerHeight)
renderer.toneMapping = THREE.CineonToneMapping
renderer.toneMappingExposure = 1.0
renderer.shadowMap.enabled = true
document.body.appendChild(renderer.domElement)

// 渲染场景
const clock = new THREE.Clock()
function render() {
  const time = clock.getElapsedTime()

  // 让粒子动起来
  for (let i = 0; i < scene.children.length; i++) {
    if (scene.children[i].type === 'Points') {
      scene.children[i].rotation.x = time * 0.2
      scene.children[i].rotation.y = time * 0.02
    }
  }

  renderer.render(scene, camera)
  requestAnimationFrame(render)
}

render()

window.addEventListener('resize', () => {
  // 重置渲染器宽高比
  renderer.setSize(window.innerWidth, window.innerHeight)
  // 重置相机宽高比
  camera.aspect = window.innerWidth / window.innerHeight
  // 更新相机投影矩阵
  camera.updateProjectionMatrix()
})
这里将创建点的代码封装成了一个函数,然后用不同的贴图创建了两种雪花效果,并且在render函数中让点进行旋转,从而模拟了雪花下落的效果。